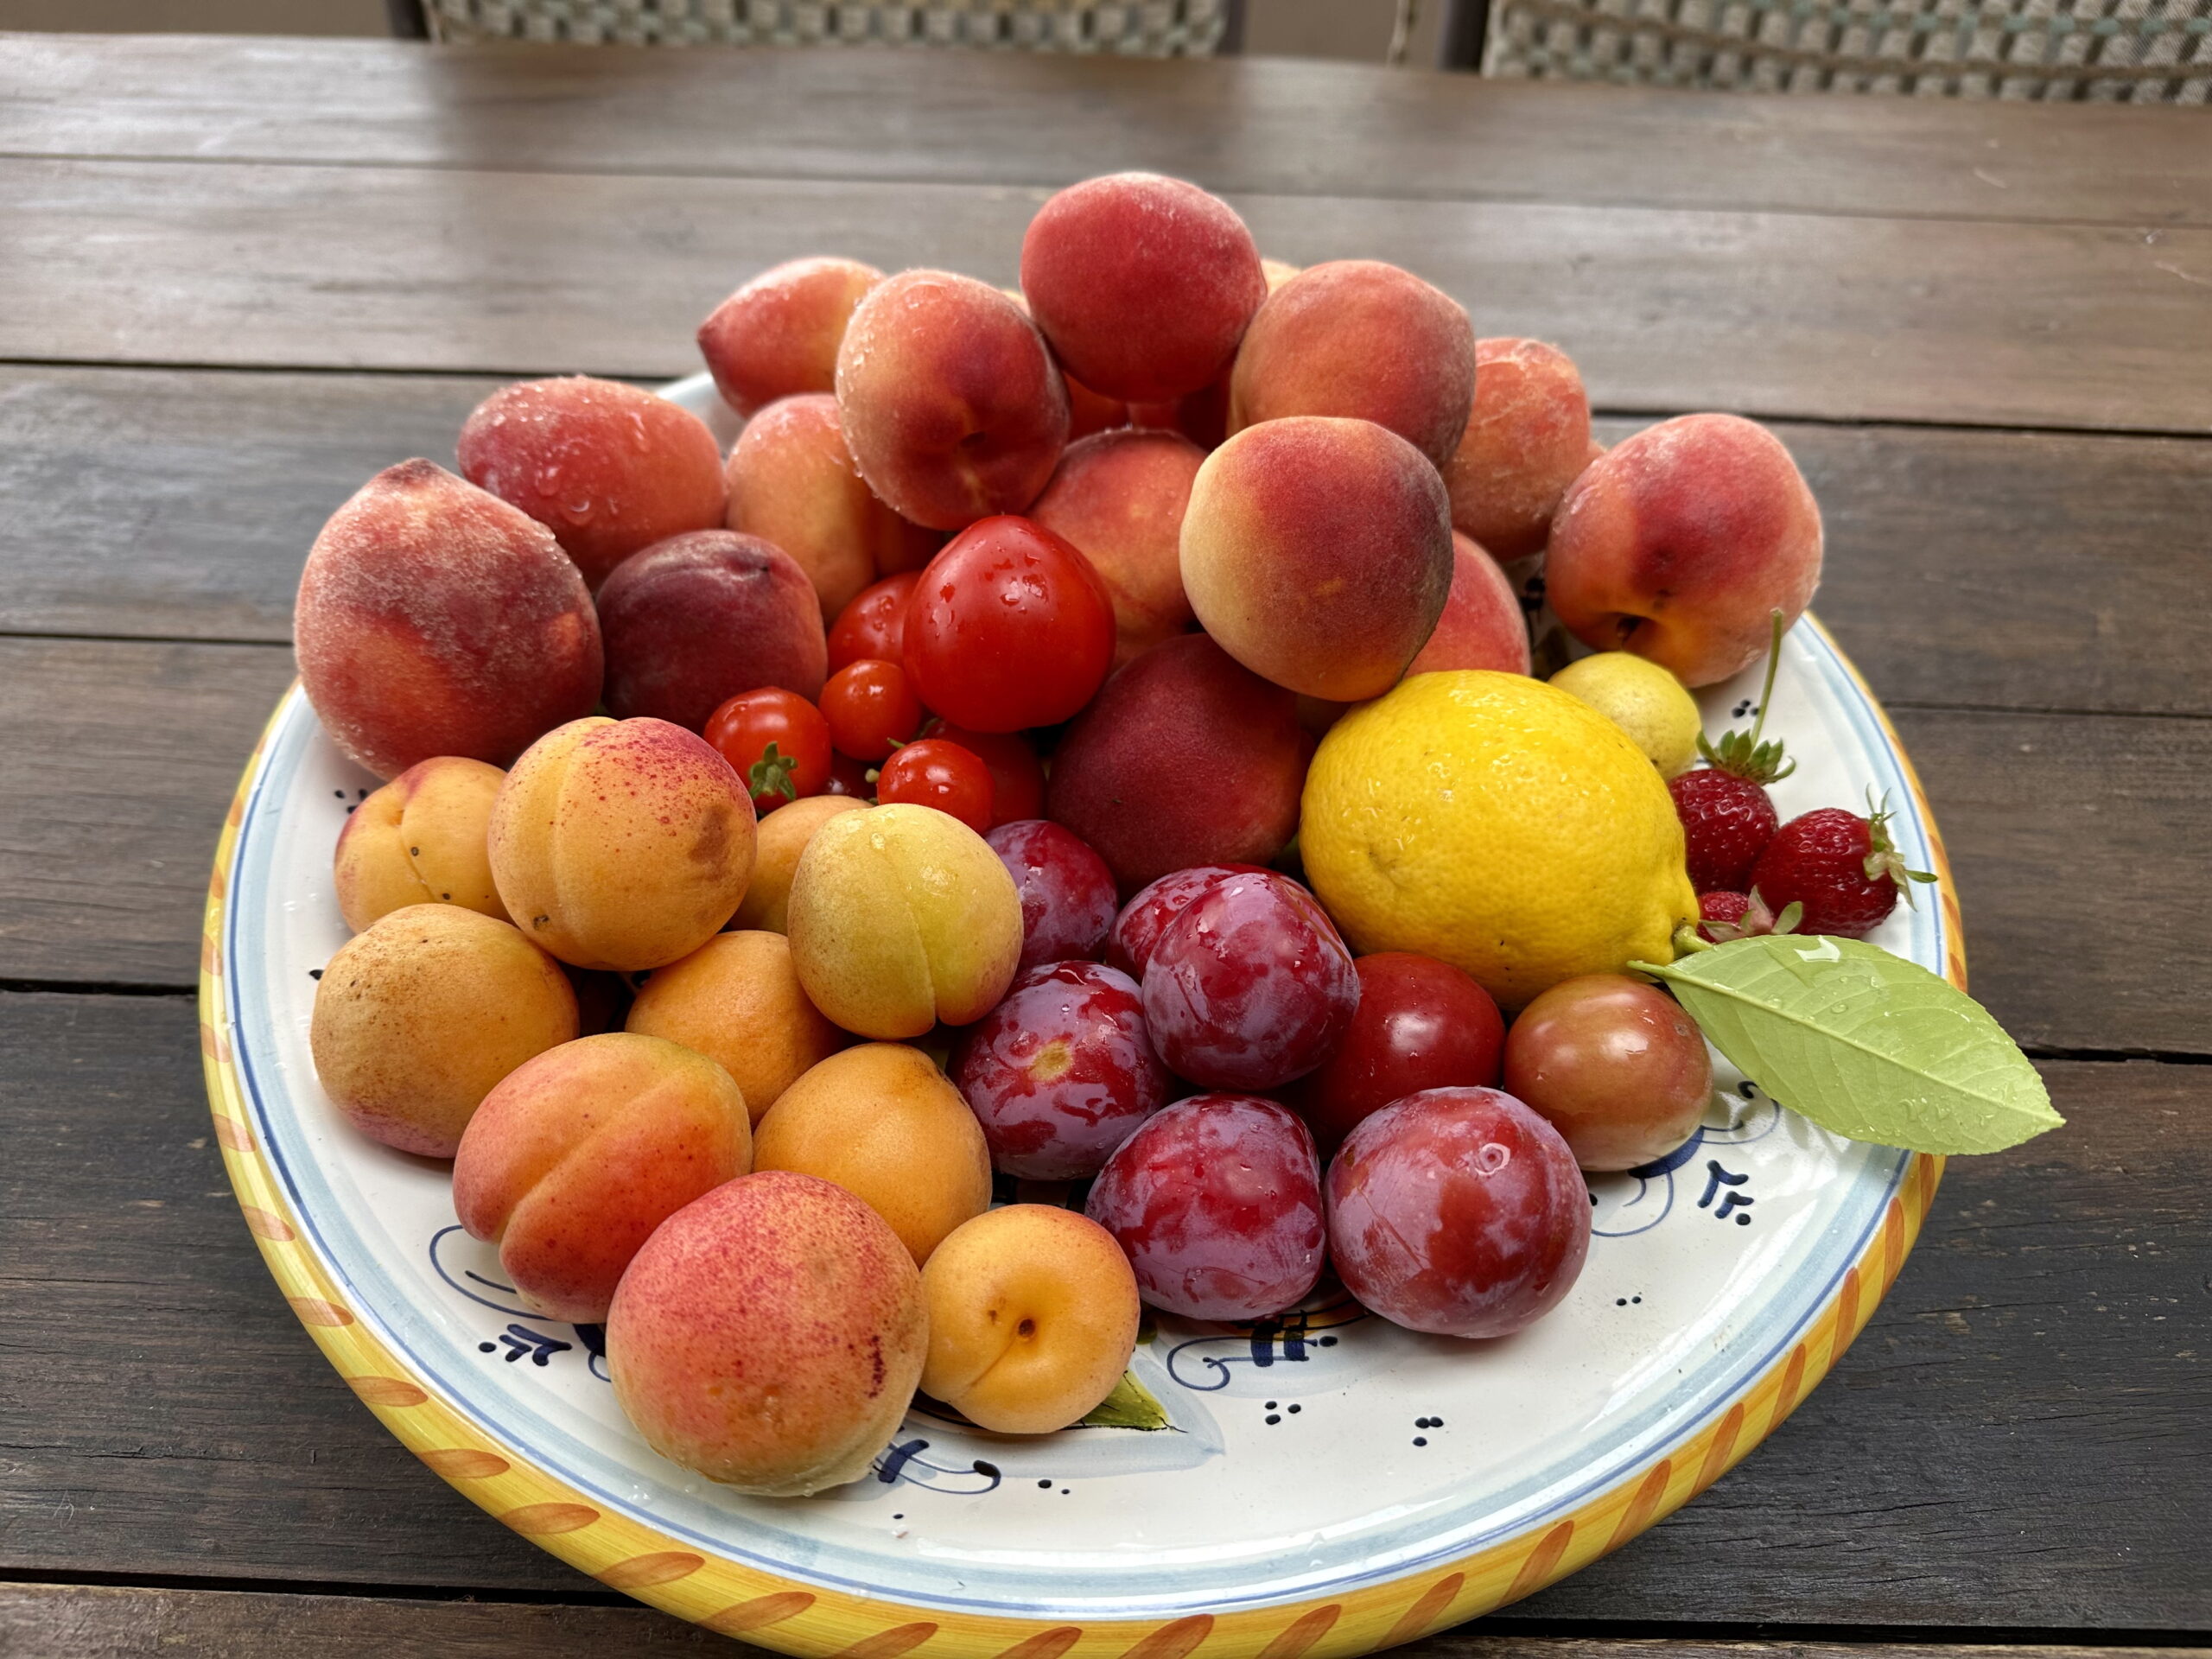
We’ve had a bumper crop of strawberries, which are coming to the end of their first harvest. Tomatoes are better this year than in past years, most likely because I’ve been using this game-changer to repel rabbits and other hungry pests with motion-activated light and steady beeping. Now, our early yellow peaches, apricots, pluots and plums are coming in and they are fantastic in flavor and juiciness. Thank you garden!
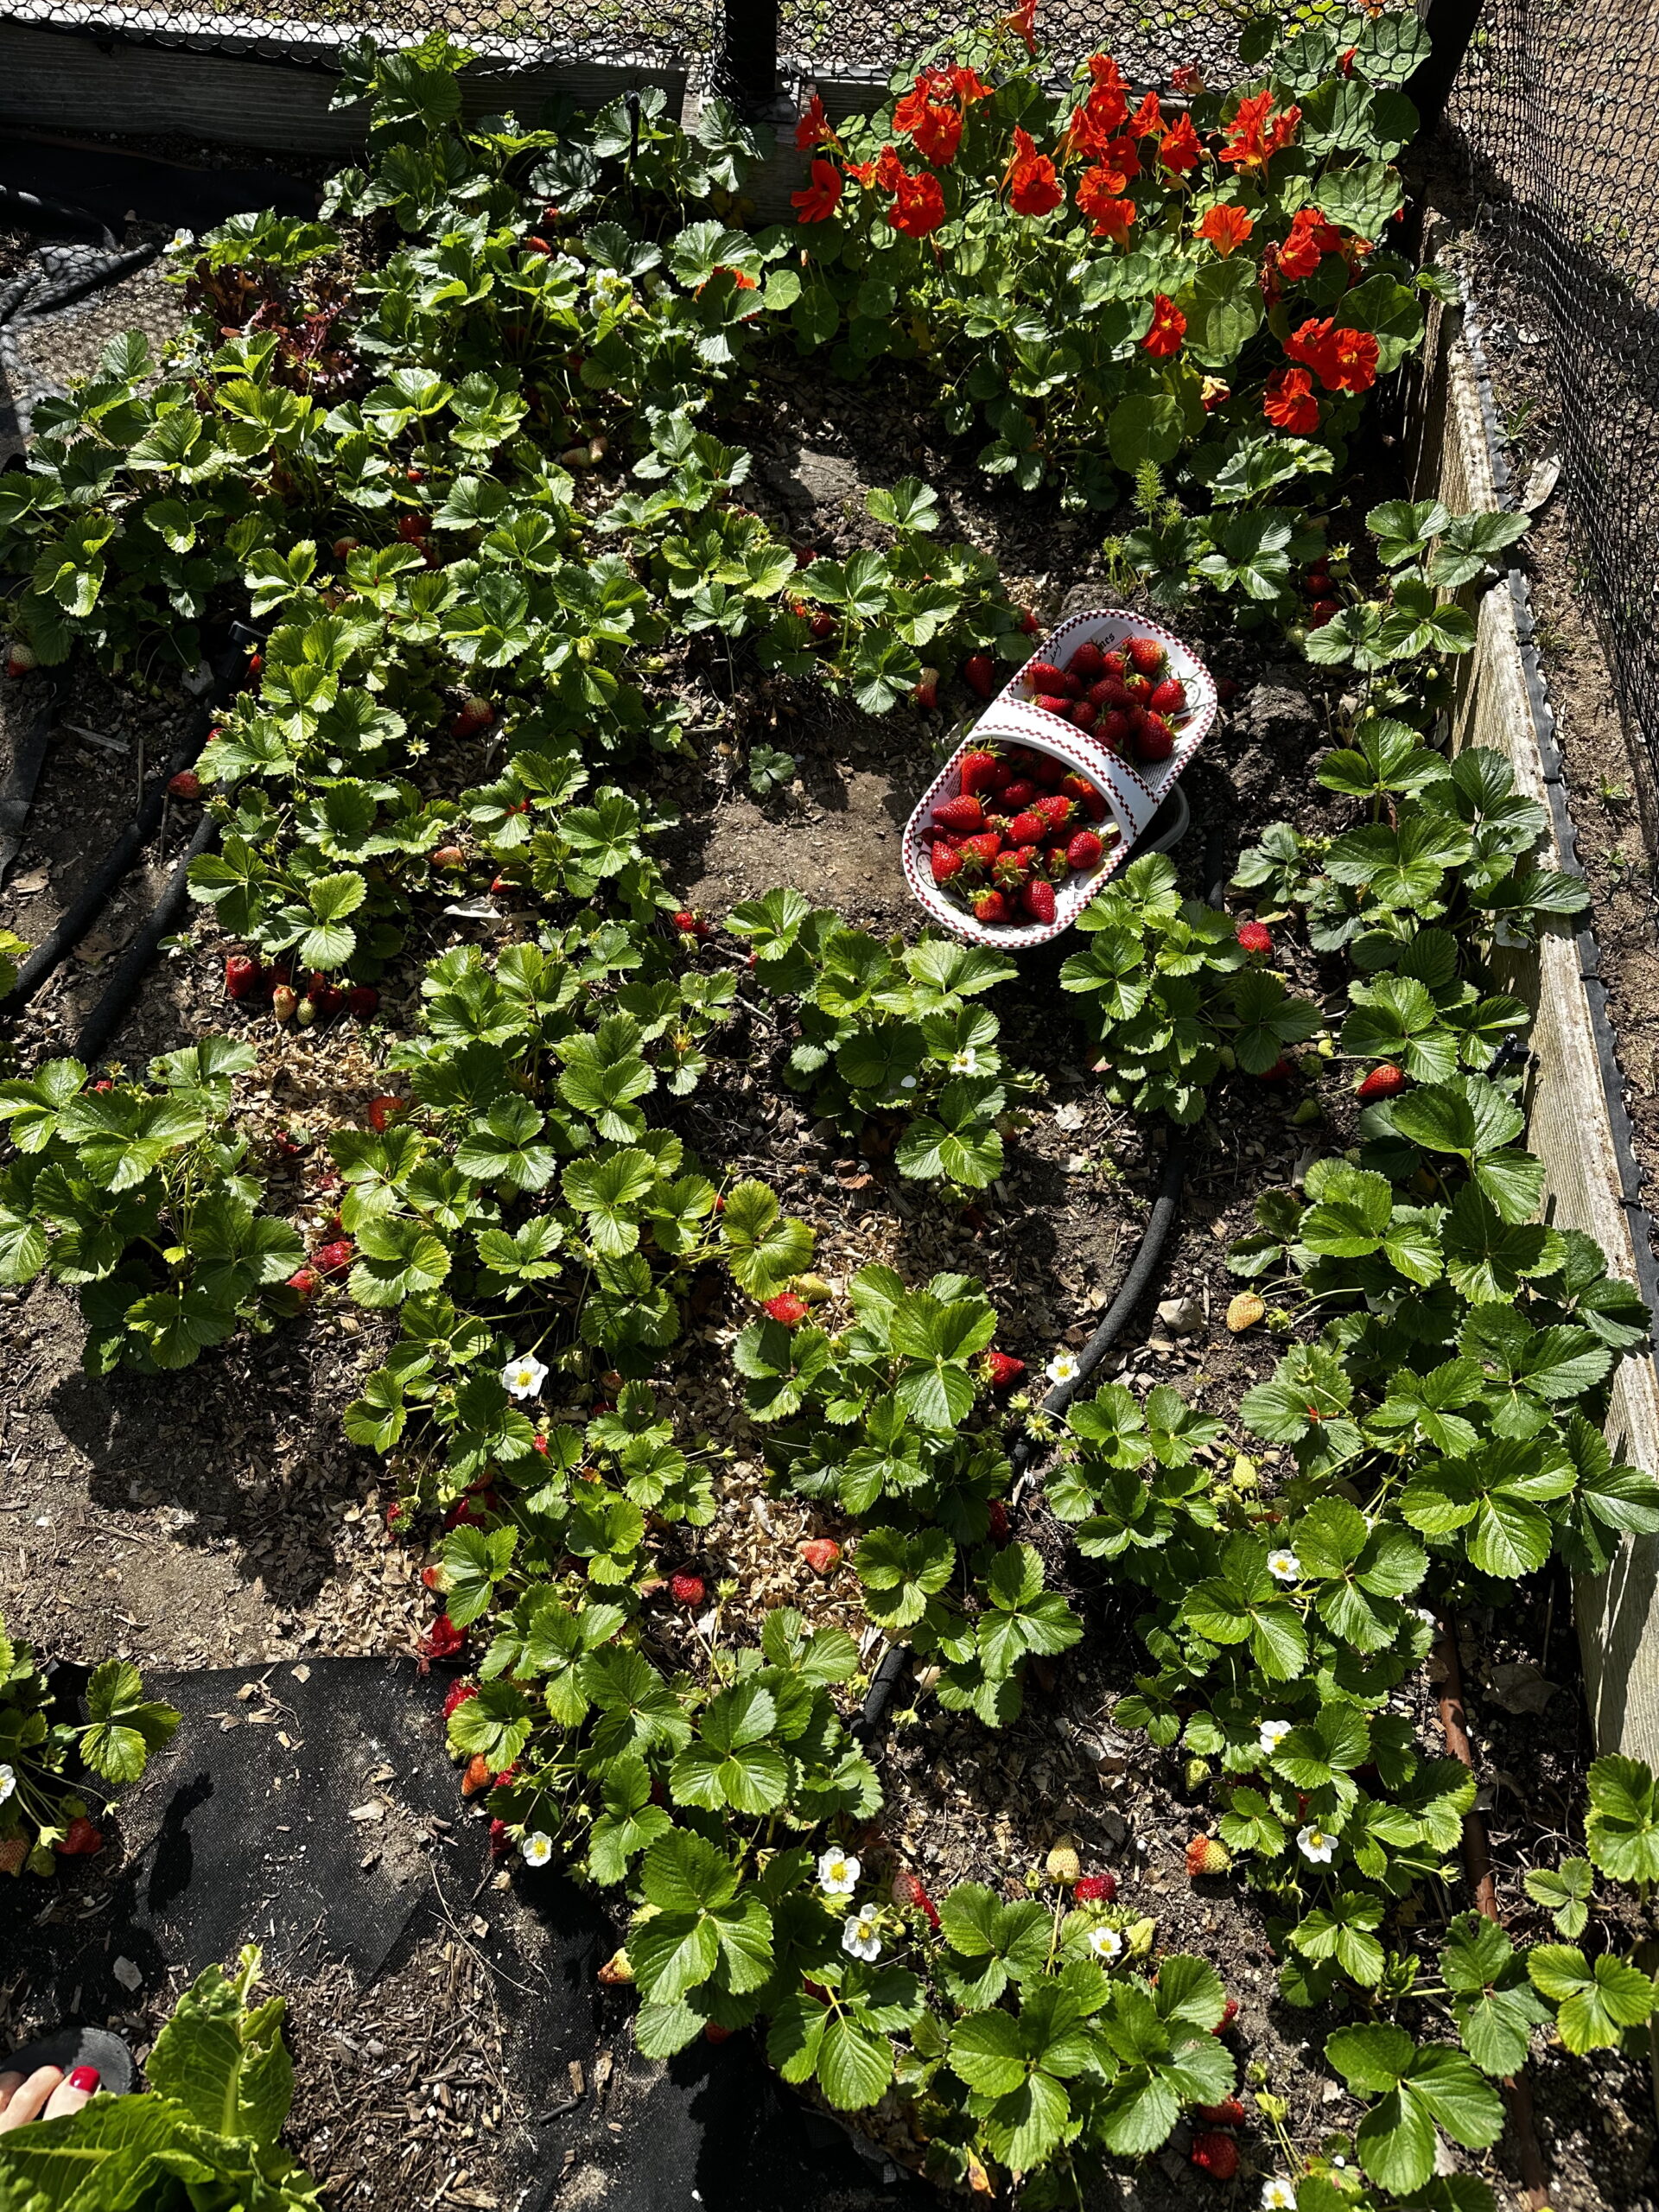
Thank you Mother Nature. It’s turning out to be a stupendous strawberry harvest. Our ever-bearing strawberries keep producing for months and we’re off to a fantastic start in April 2025!
Filling 10 peaches (we prefer yellow variety) cut into wedges – peeling is optional. 2 Tablespoons lemon juice (we use our Meyer Improved Lemons) 4 Tablespoons sugar (and we often cut back by half because we eat our crisp with vanilla ice cream) 3 Tablespoons all-purpose regular or gluten free flour
Topping 1 1/2 cup all-purpose regular or gluten free flour 1 1/2 cup old fashioned oats 1/2 tsp salt 2 teaspoons ground cinnamon 1/4 teaspoon ground nutmeg – freshly ground is best 1/4 teaspoon ground ginger 1/8 teaspoon ground cardsmom 1 1/2 cup brown sugar, firmly packed 20 tablespoons butter, cold and diced into 1/2-inch pieces optional to add your favorite nuts such as pecans or walnuts
Assembling and Cooking Preheat your oven to 350 degrees F (or 325 if convection baking). Lightly coat bottom and sides of 9×12″ baking dish with unsalted butter. Toss the Filling ingredients together and lay them in the baking dish. In a bowl, mix together all the Topping ingredients except the butter and optional nuts. Using a fork, a pastry cutter, or even your hands, cut the pieces of butter into this mixture until it is crumbly. Stir in the nuts if you’re choosing to add them. Then sprinkle the crumble topping over the peach filling mixture. Bake for 35-40 minutes until you see the liquid bubblng to the surface. Let the crisp cool until the liquid solidifies a bit, but ideally serve the peach crisp warm under a dollop of vanilla ice cream.
Or You can prepare the crisp in advance and save it by freezing before cooking You can assemble the crisp to the step of sprinkling the crumble on top, and then freeze it to bake later. Tightly wrap the baking dish in several layers of plastic wrap, and then aluminum foil, or a tightly-fitting lid if it has one. Freeze and thaw before baking.
Enjoy!
Our Freshly Picked Yellow Peaches
Juicy Yellow Peaches at Optimal Ripeness
Addie Grinding Fresh Nutmeg into the Crumble Mixture
In 2023, my attempts to harvest honey from my flow hive supers and my full flow hive was a disaster. The problem was the honey didn’t flow toward the back because the hive was too level. After you’ve fractured the honey frames by turning your long, metal, key tool, gravity will cause the honey to simply – and disastrously – pool in the bottom of the hive, rather than flow along the tube to the back where you can collect it. This can cause your bees to drown, which I think happened to me last year. It took a year to fully resuscitate all my hives and is why I didn’t make any more attempts in 2023 to collect any honey.
The two flow hive honey supers that were on top of traditional 10-frame brood boxes couldn’t easily be lifted in the front to allow the honey to flow out the back. When I tried to lift them up a little in the front, the bees in the brood box were very upset and let me know! They streamed out and made collecting the honey very difficult.
My full flow hive (upper and lower boxes) was supposed to be easily adjustable to lift the front. Even with the little level visible in the window, the screws on the legs were too hard to turn under the weight of the flow hive to tilt the front upward to allow flow toward the back.
Here is an image shared by another flow hive owner showing his honey pooling disaster. My hands were too full managing the problem to take photos myself, but this is the problem I wanted to solve in 2024. And did! Hurray!!
I bought two (they come as a set of 2) inexpensive “arm lift jacks” on Amazon. Here is what the two jacks look like as I used them to slightly lift the front of my flow hive.
Thanks to these jacks, it couldn’t have been easier – or more successful – to lift the front of the entire hive, not disturbing the bees, and let the honey flow to the back where I collected it. You can also see one of the backs visible at the front of the hive, from the side, toward the end of my video showing the honey flowing nicely out the back.
The honey at the top is from an June draw. I think it’s lighter color reflects that it was newly made in the spring from the spring nectar flow. The darker, thicker honey on the bottom, was from an earlier spring draw and I think is from a frame of overwintered honey. Or perhaps it was just made by the bees from different plants. Both honeys were from the same bees in the same location. Here in Rancho Santa Fe, California, there are many different flowers blooming at different times. They result in vastly different looking and tasting honeys.
January 23rd. That’s a record for early honey draw at Golden Glow Gardens. No doubt the three capped frames in Hive One’s honey super were a result of having left the bees alone ever since we did a 1-2 frame draw in Spring 2021 and the bees were then robbed of all the rest of their stores.
Looking into the side window I was met with a welcome sight of tons of bees working to fill and cap the outermost frame. There were so many bees, I couldn’t see past them to check how much of this frame was capped.
I caught glimpses of glistening in some cells which tells me the cells are filling with honey, but not yet capped. I’ll definitely leave this frame for the bees to keep working on.
Here is a picture of the honey frames I’m going to harvest seen from the Flow Hive’s back window.
The honey had overwintered and was dark reddish amber in color and delicious with a richness of flavor different from the light spring honey I expect we’ll be drawing in a few months. Can’t wait to see what the bees refill these frames with to compare.
This time, I took two frames of honey and I’ll be keeping vigil closely over the next few days to be sure no robbing takes place.
I believe the reason robbing is more common after a flow hive draw is that honey leaks and pools at the bottom of the honey hive after the draw. Until this gets cleaned up by the bees, it attracts predators.
Speaking of which, during my flow hive inspection, I noticed a lot of ants. While ants aren’t supposed to be harmful to a healthy hive, I am going back to the apiary tomorrow and coating the legs of the bee stand with tanglefoot to keep ants from climbing from the ground to the hives.
This weekend, I also spread diamataceous earth around the base of the bee stand. That also should help keep ants at bay. My original purpose of spreading the diamataceous earth was to repel hive beetles, but all the better if it serves two purposes.
By Scott Weybright, College of Agricultural, Human, and Natural Resource Sciences
PULLMAN, Wash. – A new fungus strain could provide a chemical-free method for eradicating mites that kill honey bees, according to a study published this month in Scientific Reports.
A team led by Washington State University entomologists bred a strain of Metarhizium, a common fungus found in soils around the world, to work as a control agent against varroa mites. Unlike other strains of Metarhizium, the one created by the WSU research team can survive in the warm environments common in honey bee hives, which typically have a temperature of around 35 Celsius (or 95 F).
“We’ve known that metarhizium could kill mites, but it was expensive and didn’t last long because the fungi died in the hive heat,” said Steve Sheppard, professor in WSU’s Department of Entomology and corresponding author on the paper. “Our team used directed evolution to develop a strain that survives at the higher temperatures. Plus, Jennifer took fungal spores from dead mites, selecting for virulence against varroa.”
Jennifer Han, a post-doctoral researcher at WSU, led the breeding program along with WSU assistant research professors Nicholas Naeger and Brandon Hopkins. Paul Stamets, owner and founder of Olympia-based business Fungi Perfecti, also contributed to the paper. Stamets is a fungi expert, well-known for using several species in applications ranging from medicine to biocontrol.
Varroa destructor mites, small parasites that live on honey bees and suck their “blood,” play a large role in Colony Collapse Disorder, which causes beekeepers to lose 30-50% of their hives each year. The mites feed on bees, weakening their immune systems and making them more susceptible to viruses.
The main tools beekeepers use to fight varroa are chemicals, such as miticides, but the tiny pests are starting to develop resistance to those treatments, Naeger said.
Metarhizium is like a mold, not a mushroom. When spores land on a varroa mite, they germinate, drill into the mite, and proliferate, killing it from the inside out. Bees have high immunity against the spores, making it a safe option for beekeepers.
Stamets, who did some of the initial testing with Metarhizium that showed the fungus couldn’t survive hive temperatures, was impressed by the work done by the WSU researchers.
“Science progresses through trial and error, and my technique wasn’t economical because of the hive heat,” he said. “But Jennifer did enormous amounts of culture work to break through that thermal barrier with this new strain. It’s difficult to really appreciate the Herculean effort it took to get this.”https://www.youtube.com/embed/LIfTsPikxqU?version=3&rel=1&fs=1&autohide=2&showsearch=0&showinfo=1&iv_load_policy=1&wmode=transparent
Han and Naeger screened more than 27,000 mites for levels of infection to get the new strain.
“It was two solid years of work, plus some preliminary effort,” Han said. “We did real-world testing to make sure it would work in the field, not just in a lab.”
This is the second major finding to come from WSU’s research partnership with Stamets involving bees and fungi. The first involved using mycelium extract that reduced virus levels in honey bees.
“It’s providing a real one-two punch, using two different fungi to help bees fight varroa,” Stamets said. “The extracts help bee immune systems reduce virus counts while the Metarhizium is a potentially great mite biocontrol agent.”
The next step is to seek approval from the Environmental Protection Agency to use Metarhizium on hives used in agriculture. The team must also finalize delivery methods for beekeepers to apply the fungus in hives.
“We hope in 10 years that, rather than chemical miticides, Metarhizium is widely used to control Varroa mites,” Sheppard said. “And that the mite problem for beekeepers has been significantly reduced.”
The team thinks the methods they developed to evolve Metarhizium for varroa control could be used to improve biocontrol agents in other crop systems as well.
The majority of the funding for this work came from private donations from individuals and foundations. Additional funding came from Washington State Department of Agriculture (WSDA) Specialty Crop Block Grant K2531 and the USDA National Institute of Food and Agriculture, Hatch 1007314.
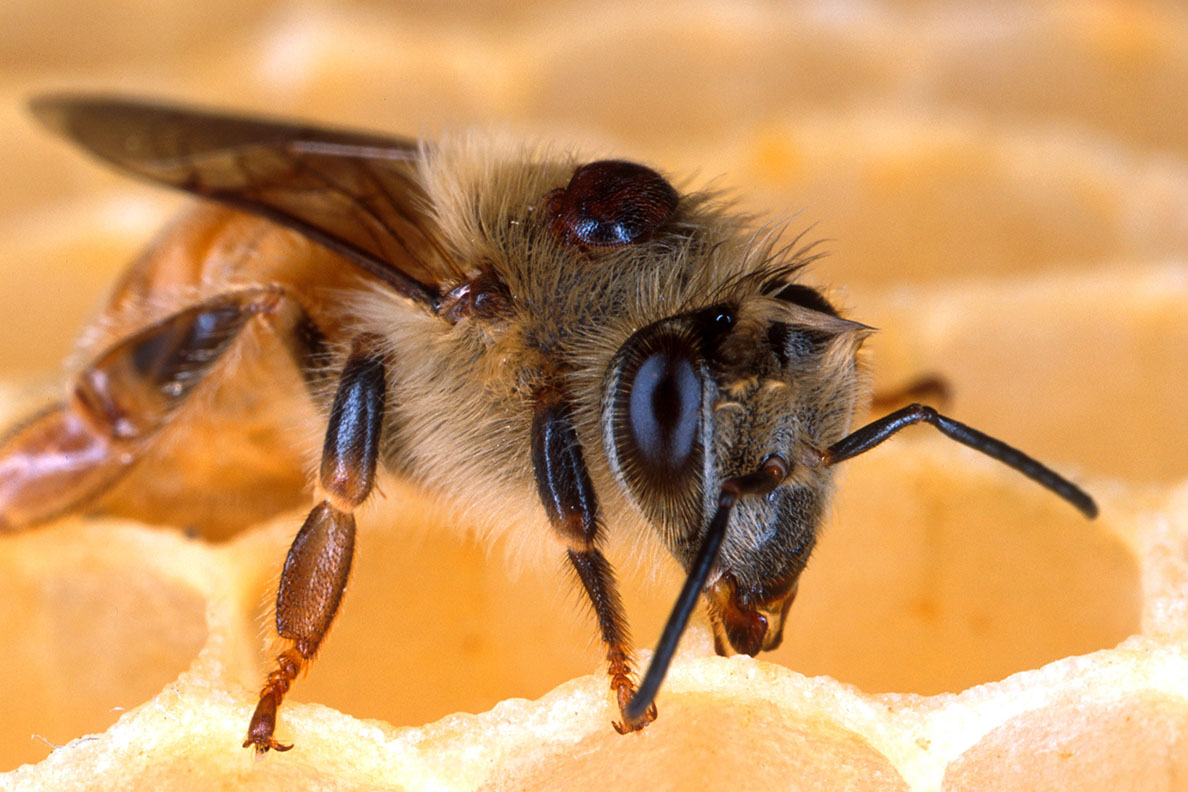
Varroa mites seen living on a honey bee. Mites weaken bees’ immune systems, transmit viruses, and siphon off nutrients. Photo by Scott Bauer, USDA Agricultural Research Service.